The Professional's Guide to a Lasting Shine: How to Care for Your Laminate Floors
The Professional's Guide to a Lasting Shine: How to Care for Your Laminate Floors
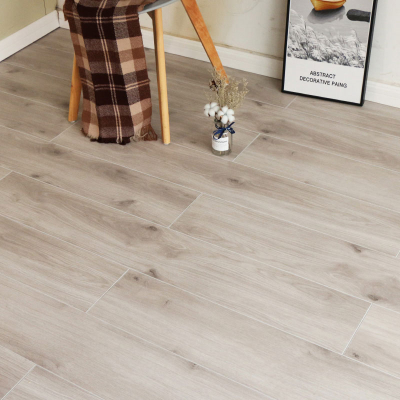
A high-gloss or satin-shine laminate floor can dramatically elevate the aesthetics of a room. However, that coveted shine is not a surface application like wax on hardwood; it is a permanent, factory-applied wear layer. Therefore, "keeping it shiny" is less about adding shine and almost entirely about preserving the integrity of that original surface. From a professional standpoint, achieving a long-lasting shine is a proactive process of prevention and correct maintenance, not a reactive one of correction.
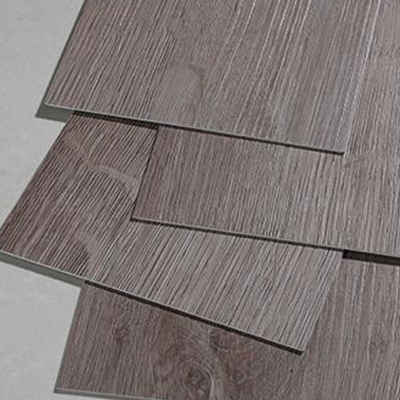
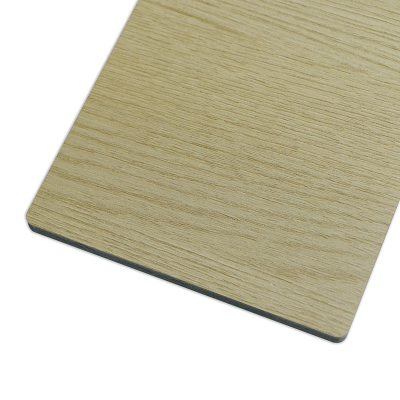
The shine on a laminate floor comes from the wear layer, also known as the overlay. This is a transparent, incredibly durable coating of melamine resin or aluminum oxide that is fused onto the decorative layer under high pressure and temperature. This layer is designed to be resistant to scratches, stains, and fading. It is, in essence, a plastic shield. The moment this layer is compromised—through scratching, scuffing, or hazing from chemical residue—the shine diminishes permanently.
The professional mantra for a shiny laminate floor is: "Protect the wear layer." Every cleaning and maintenance decision should be filtered through this principle.

Part 1: The Foundation of Shine: Proactive Protection (Prevention is 90% of the Battle)
You cannot mop or polish your way back to a shine that has been physically scratched away. Therefore, the first and most crucial line of defense is to prevent damage from ever occurring.
1. The Aggressor Identification and Elimination:
Grit and Abrasive Particles: Sand, dirt, and dust are the primary enemies of the wear layer. Underfoot, these particles act like fine-grit sandpaper, creating microscopic scratches that diffuse light and cause the floor to look dull over time.
Improper Footwear: High heels, especially those with damaged or hard plastic tips, can concentrate immense pressure on a tiny point, creating dents and punctures in the wear layer that scatter light and break the reflective surface.
Furniture Legs: Dragging chairs, tables, and other furniture can cause deep, visible scratches. Even lifting furniture can cause chips if it's dropped.
Pet Claws: Untrimmed pet claws can act like engraving tools, leaving a network of fine scratches.
2. The Protective Measures Regimen:
Strategic Mats and Rugs: Place high-quality, non-rubber-backed mats at every entrance—inside and out—to trap dirt and moisture before it reaches the floor. Use rugs in high-traffic areas like hallways and in front of sinks. Crucially, ensure these mats have a breathable, non-vinyl or non-rubber backing, as these can trap moisture and discolor the laminate over time. Felt or non-slip polypropylene backings are ideal.
Felt Protectors are Non-Negotiable: Apply high-quality felt pads to the bottom of every piece of furniture—chairs, tables, sofas, lamps, etc. Check these pads regularly (every few months) for wear and replace them as needed, as embedded grit can render them abrasive.
Adopt a "No Outdoor Shoes" Policy: This is a common practice in many countries outside of North America and is the single most effective way to reduce the introduction of abrasive materials.
Use Protective Caster Cups: For heavy furniture on wheels, use wide caster cups to distribute the weight and prevent indentation and scratching.
Keep Pet Claws Trimmed: A simple routine grooming habit will significantly reduce the potential for pet-related scratches.

Part 2: The Cleaning Regimen for a Reflectve Surface (The "What" and "How")
Cleaning is not just about removing dirt; it's about doing so in a way that does not add micro-scratches or leave a dulling film.
1. Dry Cleaning: The Daily/Weekly Ritual
Tools: Use a soft-bristled broom, a dry dust mop, or a vacuum cleaner certified for hard floors with the beater bar turned off. The rotating bristles of a beater bar are designed to agitate carpet fibers but will scour and dull a laminate surface.
Frequency: High-traffic areas should be dry-cleaned daily. Lower traffic areas can be done 2-3 times a week. This routine removes the abrasive grit that causes micro-scratches.
2. Damp Mopping: The Bi-Weekly/Monthly Deep Clean
This is where most people go wrong, inadvertently causing hazing and residue that kills the shine.
The Right Tool: A high-quality microfiber flat mop is the international gold standard. Microfiber strands are exceptionally effective at trapping and holding dirt and moisture without needing excessive liquid. Avoid string mops and sponge mops, as they hold too much water and are difficult to control.
The Right Solution:
Professional Recommendation: Use a cleaner specifically formulated for laminate floors. These are pH-neutral, residue-free, and designed to clean without leaving a dulling film. They often contain anti-static agents that help repel dust.
The "Plain Water" Method: For routine cleans, distilled or filtered warm water is often sufficient and eliminates any risk of residue. Tap water can leave mineral deposits over time.
What to AVOID: Never use vinegar, ammonia, bleach, abrasive cleaners, or "all-purpose" cleaners. Vinegar is acidic and will gradually etch and degrade the wear layer. Soap-based cleaners (including dish soap and castile soap) always leave a residue that attracts more dirt and creates a hazy, sticky film. Steam mops are prohibited; the heat and moisture can break down the adhesive in the floor and warp the planks, while the force of the steam can drive residue into the surface.
The Technique for a Streak-Free Shine:
The Wringing Test: Wring the microfiber pad until it is only slightly damp to the touch. It should not be wet. A good test is to press it on a dry paper towel; only a faint hint of moisture should appear.
Mop in Sections: Work on small areas (e.g., 4x4 feet) to prevent the solution from drying on the floor, which causes streaks.
Follow the Plank Direction: Mopping parallel to the planks helps prevent pushing dirty water into the seams.
The Final Dry Buff (The Secret to an Instant Shine): This is the most critical step for immediate gloss. Immediately after damp-mopping a section, go over it with a separate, clean, dry microfiber cloth or a dry mop head. This buffing action polishes the surface, removes any minuscule streaks, and ensures no moisture is left behind, resulting in a flawless, residue-free shine.

Part 3: Myths, Mistakes, and "Quick Fixes" to Avoid
The market is full of products that promise to restore shine, but for laminate, they often do more harm than good.
The Polish Myth: Do not use floor polish, wax, or "shine rejuvenators" designed for vinyl or hardwood on your laminate floor. Laminate has a non-porous surface. These products cannot be absorbed; they simply sit on top as a temporary coating. This coating will quickly become sticky, attract dirt, and turn into a dull, streaky mess that is very difficult to remove. You are essentially trading a permanent, hard finish for a temporary, soft, and problematic one.
The Oil-Based Cleaner Danger: Avoid any cleaners containing oil or wax. They will create the same problematic, residue-building film as polishes.
Dealing with "Shine Killers":
Cloudy Residue: If you suspect a buildup of soap or polish, the solution is to strip it away. This requires damp-mopping with a dedicated laminate floor cleaner (not soap) and a highly wrung-out mop, followed immediately by a dry buff. You may need to do this 2-3 times to fully remove the film. Prevention, however, is far easier.
Scuffs and Light Scratches: For black heel marks or light scuffs, a dry Magic Eraser (melamine foam) can be very effective. Use it gently and dry, as it is a mild abrasive. For finer scratches, some manufacturers sell specific laminate repair pens that can fill and mask the damage.
Dullness from Micro-Scratches: Once the wear layer is uniformly scratched, the damage is permanent. The only "fix" is to replace the planks. This underscores the absolute importance of the preventative measures outlined in Part 1.

Conclusion: The Synthesis of a Sustainable Shine
A perpetually shiny laminate floor is not the result of a magic bottle but the outcome of a disciplined, informed care regimen. To summarize the professional approach:
Protect Relentlessly: Use mats, felt pads, and a no-shoes policy to create a physical barrier between the floor and its abrasives.
Clean Correctly: Prioritize daily dry cleaning to remove grit. For damp mopping, use a microfiber mop, a residue-free laminate cleaner (or plain water), and master the "damp, not wet" technique.
Finish with a Dry Buff: This is the non-negotiable final step that ensures a streak-free, instantly shiny result after every clean.
Avoid "Miracle" Products: Reject any polish, wax, or soap-based cleaner. Trust the integrity of the factory-applied wear layer.
By shifting your mindset from "restoring" shine to "preserving" it, you empower yourself with the knowledge to maintain the like-new, reflective beauty of your laminate floors for their entire lifespan. The shine was built to last at the factory; your job is simply to ensure nothing you do gets in its way.