How are PVC panels properly attached to a wall surface?
Professional Guide to PVC Wall Panel Installation
This guide provides a comprehensive and professional overview of PVC wall panel installation. The recommended method is the wooden slat frame system, which ensures a long-lasting and high-quality surface treatment to accommodate the irregularity of the walls and allows for ventilation behind the panels.
Phase One: Planning, Safety, and Preparation (The Foundation of Success)
A successful installation is 80% preparatory work. Rushing to complete this stage will lead to an unqualified result.
Tool and material preparation
Measurement and layout: Laser level (efficiency and accuracy are indispensable), 4-foot level, tape measure, chalk line, pencil.
Cutting: Fine-toothed circular saw or vertical saw (for straight cutting), inclined saw (for precise cutting), utility knife.
Fastening: Drill bit/driver with hammer function, nail gun (high speed is strongly recommended) or No. 18 nail, hammer.
Safety: Safety glasses, dust masks, hearing AIDS, work gloves.
Material
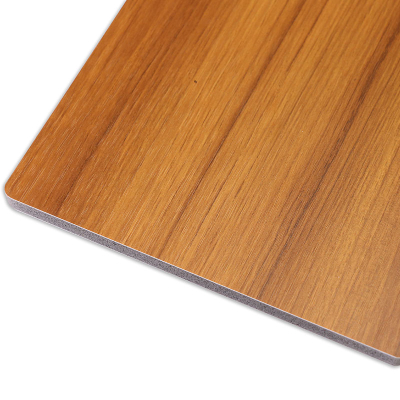
PVC wall panels (calculate total square feet + 10% waste factor).
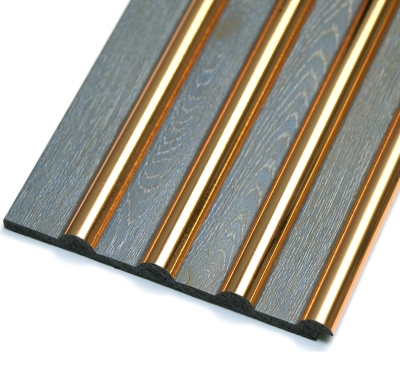
Wool strips: 1 "x2" or 2 "x2" pressure treated wood is the minimum standard. For optimal performance in high-humidity areas or in perfect straight frames, please use galvanized steel cap channels or Z-shaped strips.
Fasteners: Concrete screws (e.g., Tapcons) or wall plugs suitable for base materials (bricks, blocks), No. 18 white nails or No. 16 stainless steel nails for connecting panels.
Decorative and sealing adhesives: PVC starting strips, J-shaped grooves, inner and outer corner decorations, end covers. 100% silicone sealant (for damp areas), high-quality building adhesive (as an auxiliary, not the main).
Vapor barrier: 6mm polyethylene thin plate (key for exterior walls or installation below grade).
Site assessment and wall preparation
Structural integrity inspection: The existing walls must be in good condition. Address any issues of rot, major cracks or persistent dampness before starting.
Utility detection: This is an non-negotiable security step. Use high-quality cable and pipe detectors to map out all the wires, pipes and other obstacles inside the wall. Mark their positions clearly with a pencil.
Base material preparation: Remove all switch boards, socket covers and old trim edges. The goal is not a completed surface, but a stable one. Any loose paint or plaster should be scraped off. The protruding lump should be knocked off.
Steam barrier installation (if necessary) : In climates prone to condensation or on exterior walls, the installation of steam barriers is mandatory. Nail 6-millimeter polyvinyl chloride sheets to the wall, with overlapping seams of at least 6 inches, and seal them with special tape. This can prevent the moist internal air from condensing in the wall cavity.
Phase Two: Installation Process (Critical Path)
Step 1: Layout and calendering strip installation
This is the most crucial step. Completion will only be as smooth as the framework behind it.
Determine the starting point: Use a laser level to project a vertical line at the starting Angle. This is your genuine vertical reference for the entire project.
Position and mark the wall columns: Use a nail column detector to position the vertical wooden or metal nails behind the wall. Clearly mark their centers on the ceiling and floor. Your wool strips must be anchored to these studs to ensure safety.
To create a perfect plane: Locate the farthest protrusion point of the wall. Your first roll bar will be installed here. Use your laser level to pass this plane through the entire wall. You will use the other wool strips behind the gasket (wood or composite material) to make them all fit into this perfect plane. This process is the difference between professional work and part-time work.
Installation frame
Install horizontal gaskets at the top and bottom of the wall.
Install vertical protrusions with a spacing of no more than 400mm (16 inches) in the middle. This spacing is crucial for preventing the panel from sagging or bending over time.
Each strip is fixed by drilling guide holes and directly driving screws into the pilasters. For brick and stone walls, use an impact drill to make holes in the wall plugs. Always check the horizontal plane and the vertical line.
Step 2: Install the PVC board
Adaptability: Place the panel in the installation room for 24 to 48 hours before installation. This enables them to expand or contract according to the ambient temperature and humidity of the room, minimizing future movement.
Planning layout: Measure the width of the wall. Determine the widths of the first and last panels. If the last panel will be less than 2 inches wide, tear off the first panel which is wider and more proportionate